Vending Machine Software Update Guide
Difficulty
Steps
5
Time Required
00:30:00 - 01:00:00
Introduction
Sometimes new software updates are released for your machine to improve performance, fix bugs, and add features like remote advertisement uploads and a cleaner interface. It is optional but recommended to update your software. To do this, download the software file (APK) to a USB drive and follow the step-by-step process below to install it on your machine. During the update, you may need to redo some setup steps, including re-entering your machine number, setting a new password, and downloading your products and images from the online dashboard. Make sure your machine is connected to Wi-Fi or mobile data, and allow the necessary permissions during installation. Following this process ensures your machine runs smoothly with the latest features and settings.
Tools
Computer
USB Thumb Drive
⚠️ USB Drive Requirements (Important):
Format: The USB drive must be formatted as FAT32.
Capacity: The recommended size is 16GB or smaller. Larger drives (e.g., 32GB) may cause the system to fail to read the USB or produce errors.
Parts
Tutorial Video
If you prefer a video guide, you can follow our step-by-step video tutorial on YouTube. Otherwise, scroll down to read the written instructions to complete the firmware update.
Step 1
Download the Software & Plug in USB
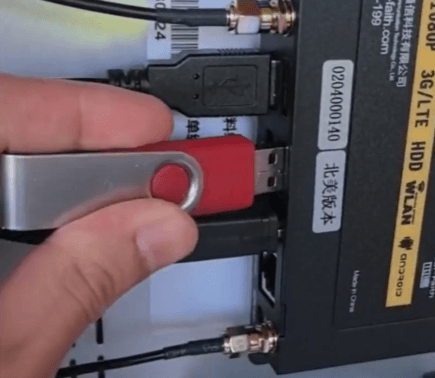
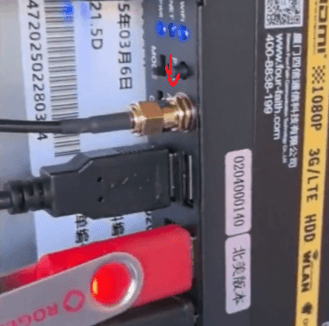
To update your machine’s software, simply download and copy the APK file onto a USB drive, similar to the one shown here. Then, insert the USB into the port located on the black box inside the machine.
Also, make sure the mode toggle is in the down position to turn on the Android navigation menu.
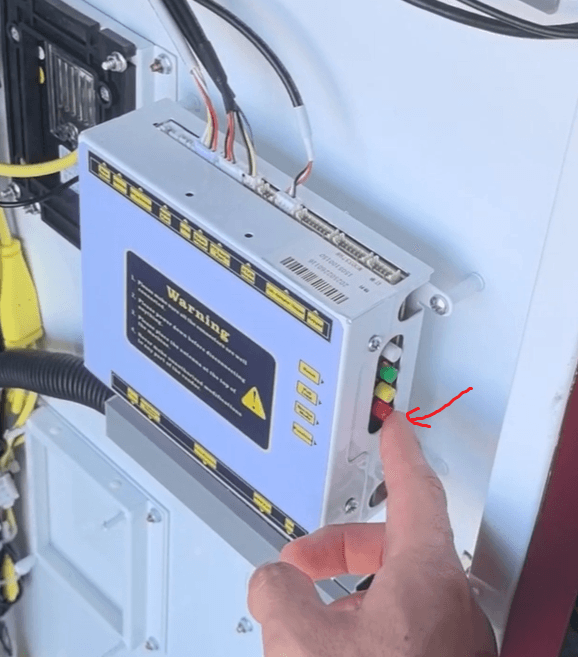
Then, press the red button to enter the settings menu and begin the update process.
Step 2
Delete Old Files
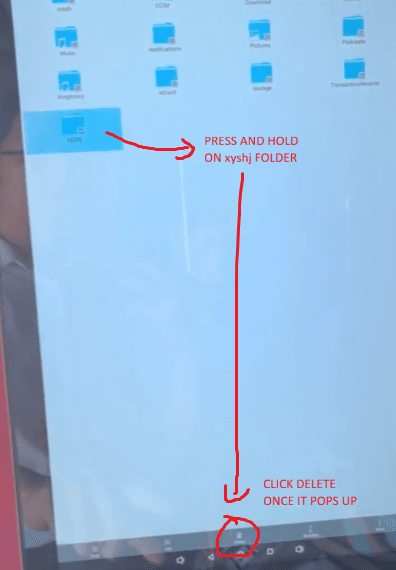
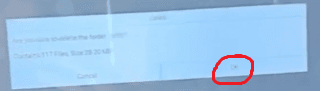
Once you’re on the settings screen, you may see the older firmware version. To continue, navigate to the File Management section. Locate the XYSHJ folder, press and hold to select it, and click Delete. When prompted to confirm, click OK to complete the deletion.
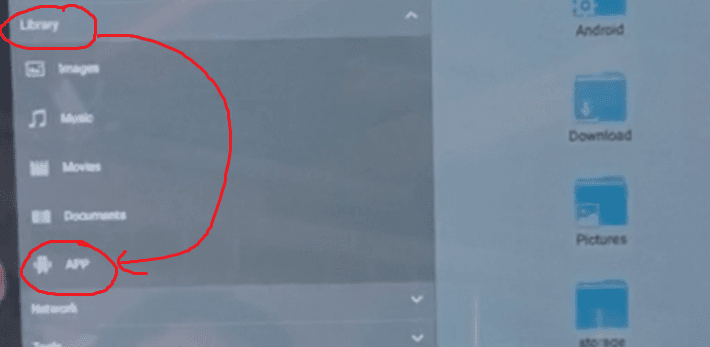
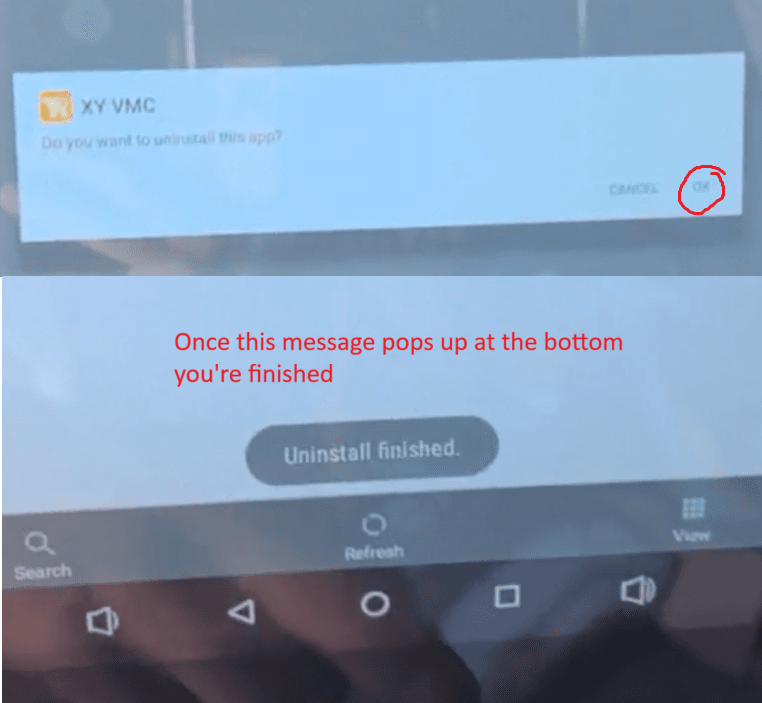
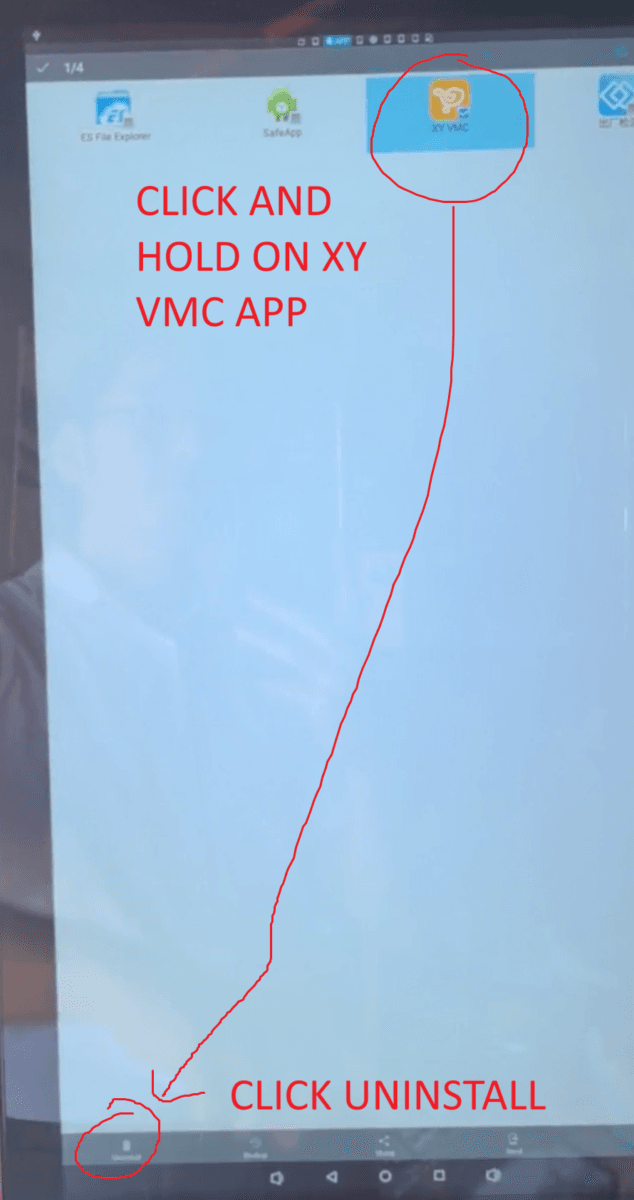
After deleting the XYHJ folder, navigate to the Library -> App section and select XY VMC by pressing and holding on the icon. At the bottom left, click Uninstall to remove the app. Once the uninstallation is complete, you’re ready for the next step.
Step 3
Install New Software
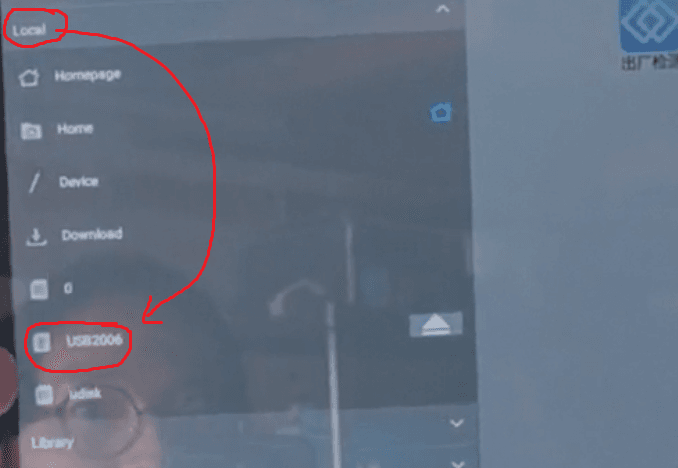
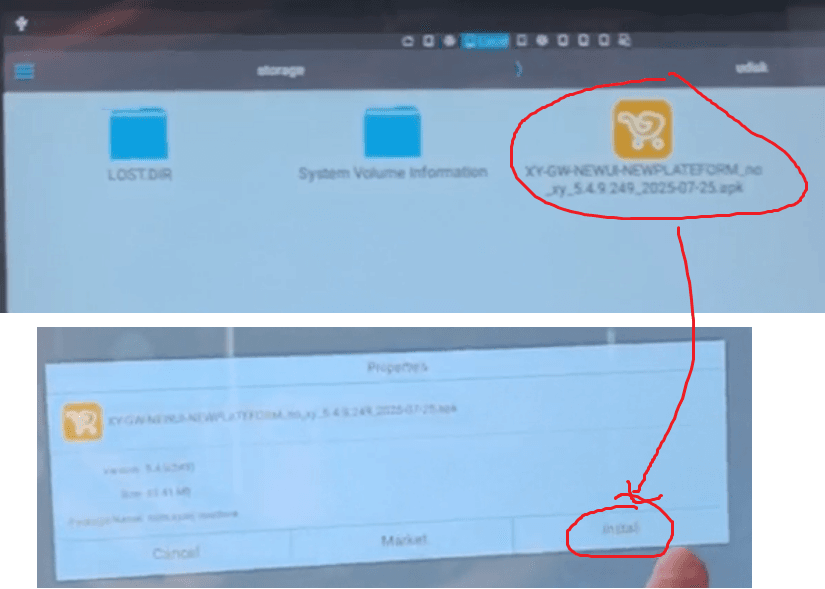
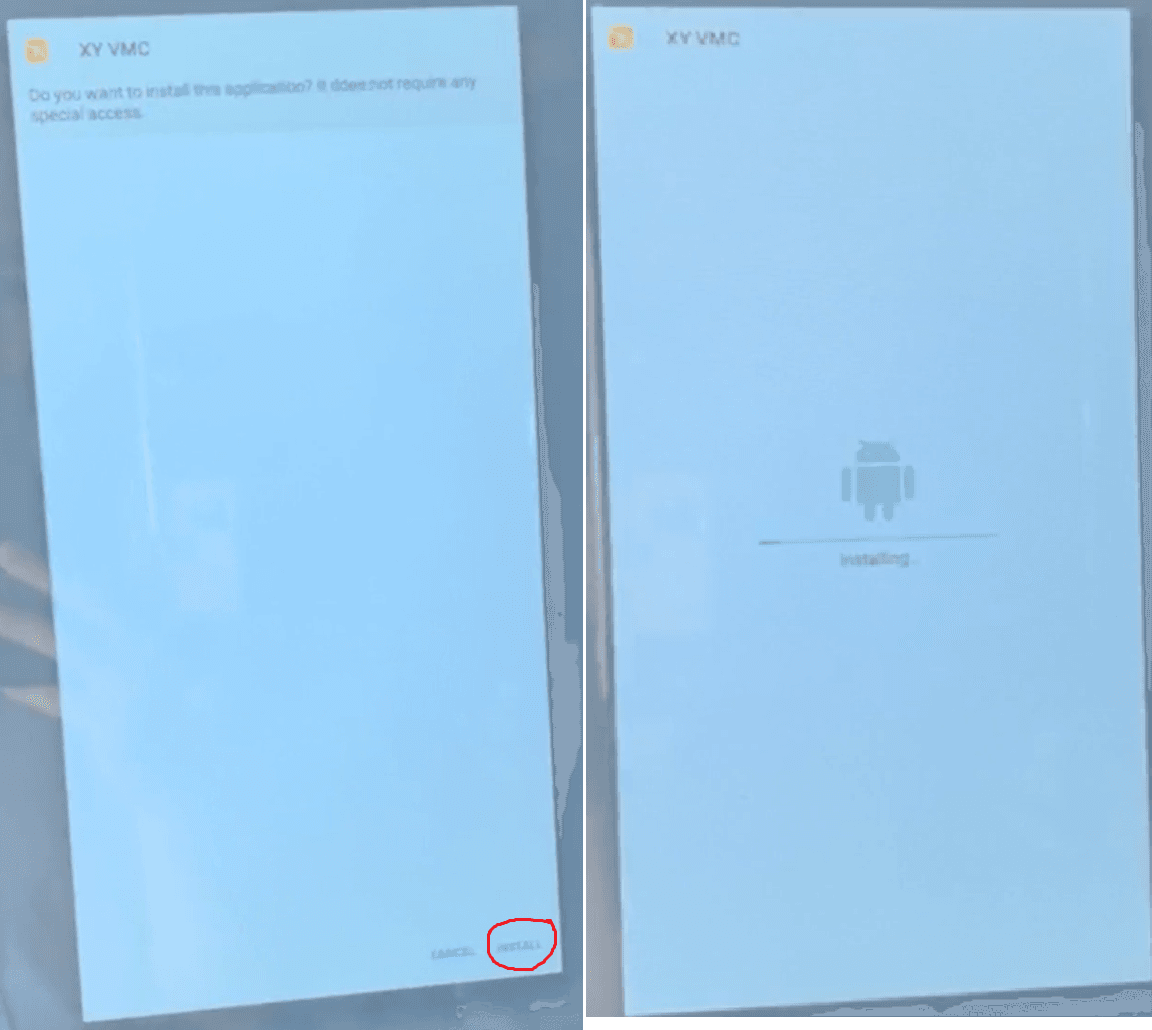
Next, navigate back to Local and click on your USB drive and then just tap the APK file. A dialog box will appear—click Install, then confirm by selecting Install again. Wait for the new firmware to finish installing.
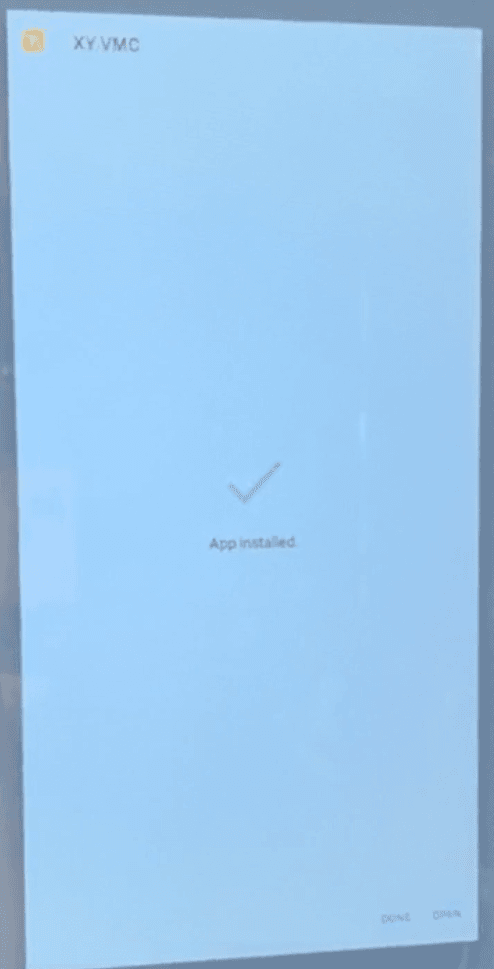
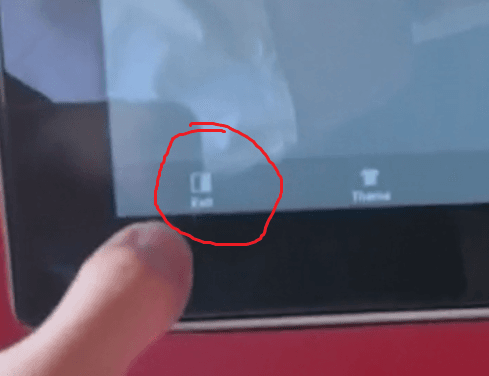
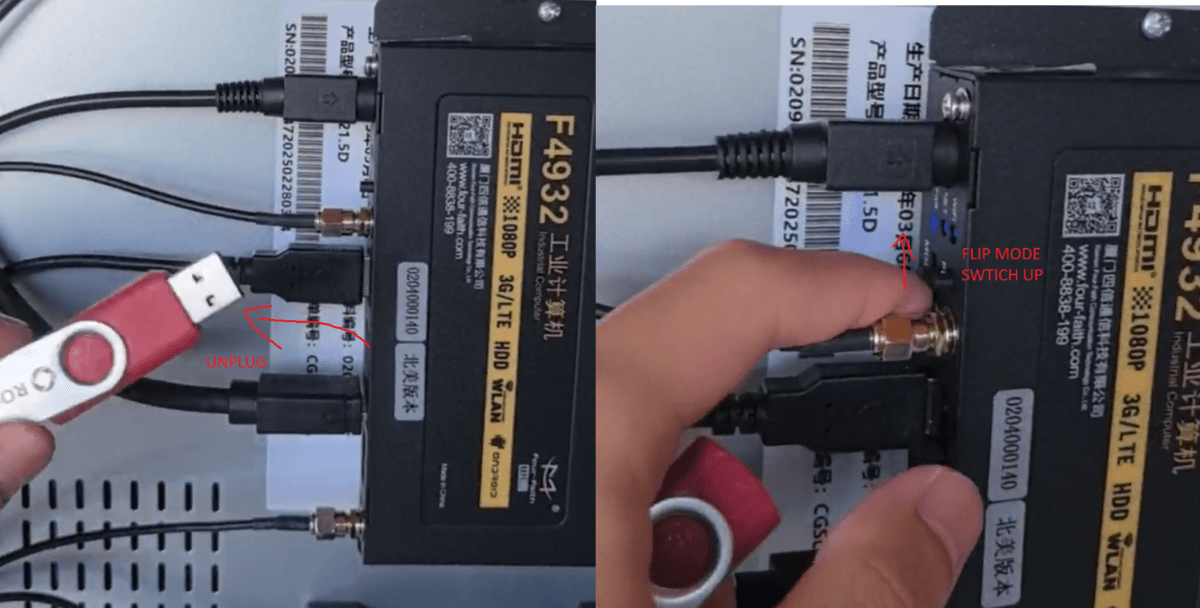
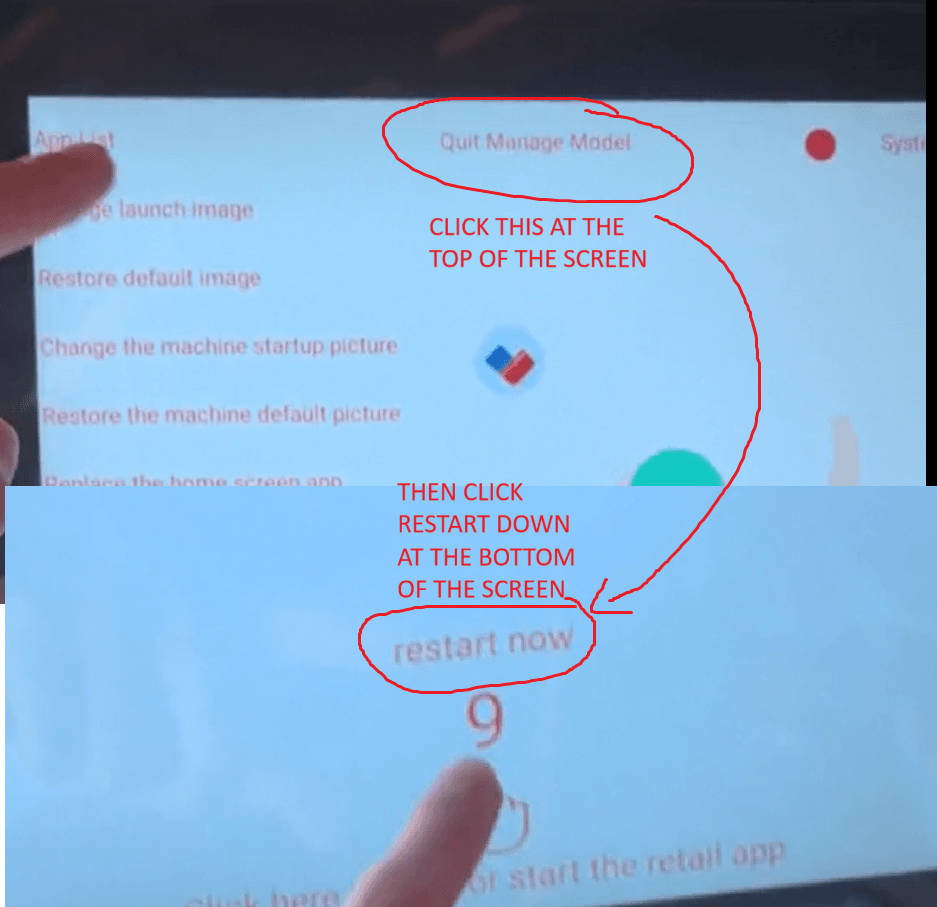
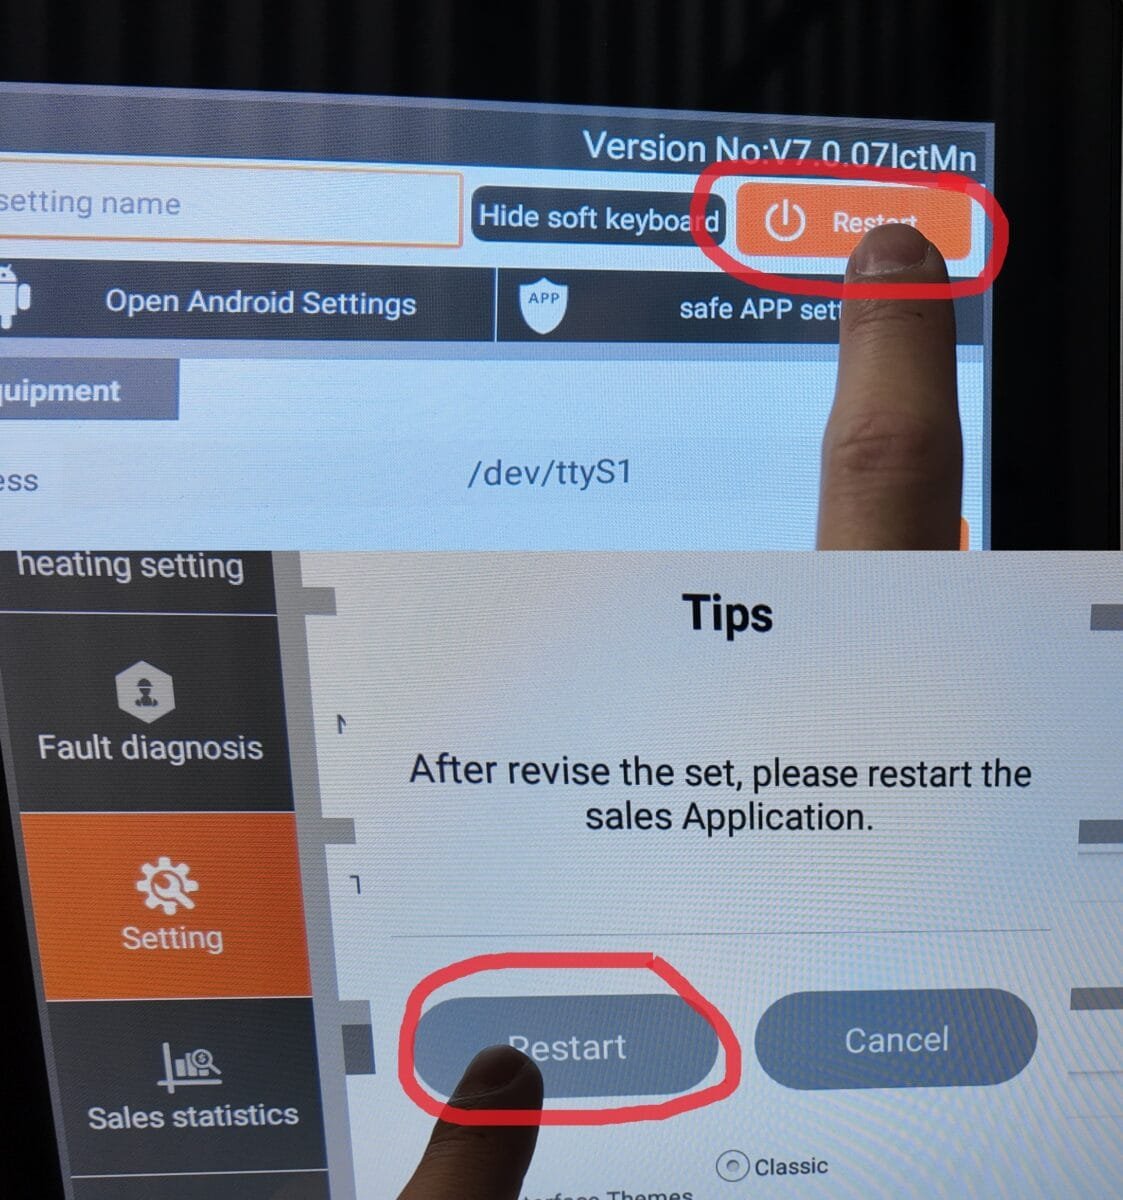
Once the installation is complete and it says App Installed, click Done. Then go to unplug the USB, and flip the mode switch back to the top position to hide the Android menu. In the bottom left, select Exit. If a “Manage Mode” page appears at the top with additional text, click Quit, and then select Restart to complete the update process.
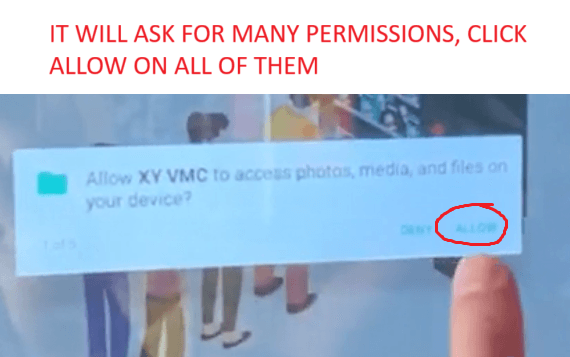
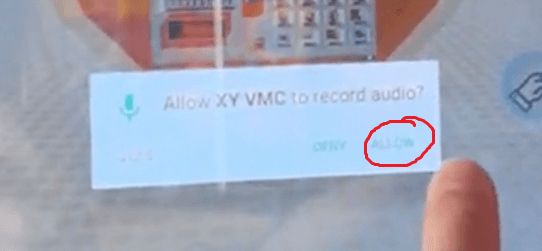
During the restart process, if the system prompts you for permissions, simply click Allow on each request to ensure the app functions correctly.
Step 4
Enter Machine Number & Reset Password
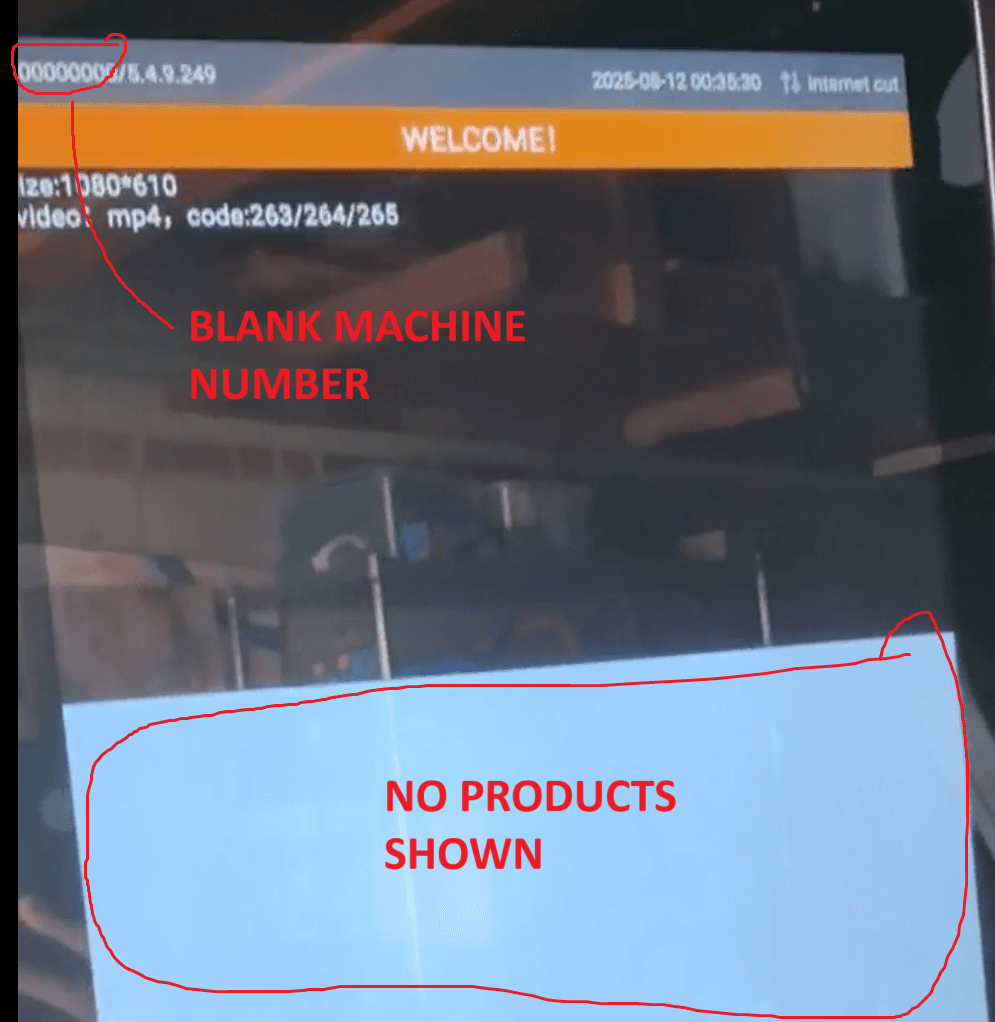
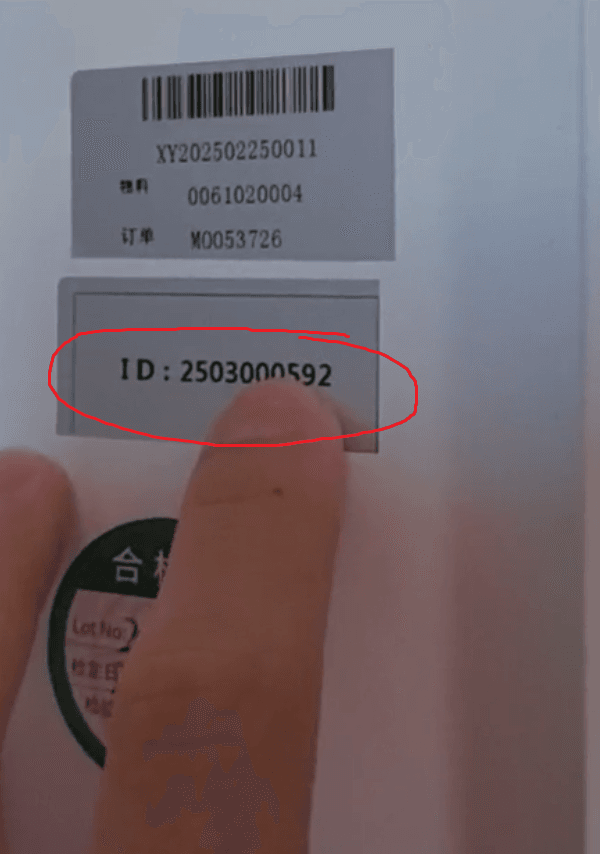
After installing the new firmware, your machine ID will have been reset along with all product information, so you will need to reset and redownload them. Begin by clicking the red button again to access Settings. The first step is to re-enter the machine number. Delete the old number and enter the machine number found on the sticker inside your machine. Enter it carefully, double-check that it’s correct, and click Save. Once saved successfully, restart the machine to apply the changes.

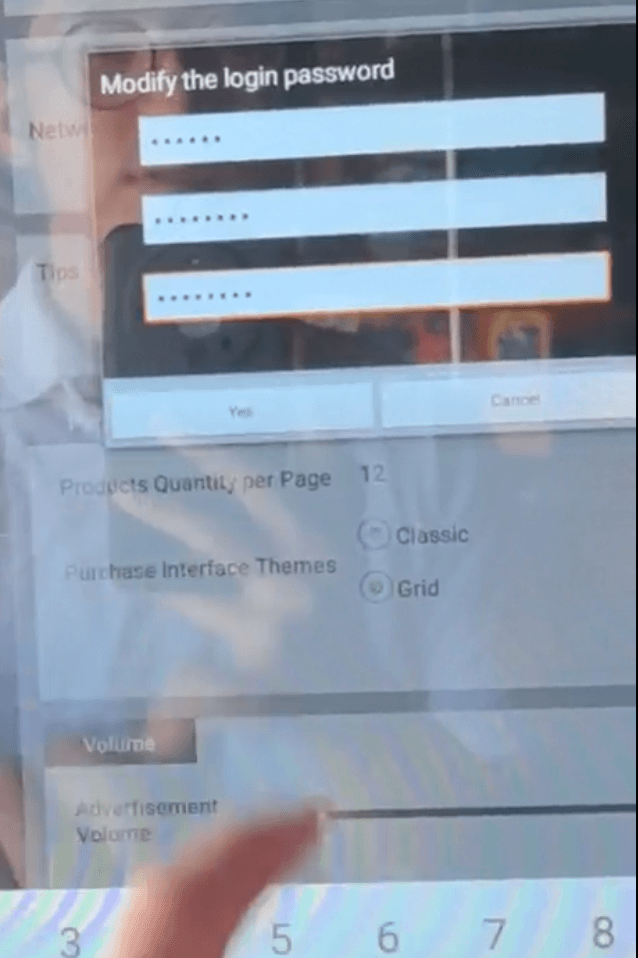
When the machine restarts, you will be prompted to modify the password. Enter the old password (e.g., 888888) and then set a new password—something easy to remember, such as 88888888. Click Yes to confirm and restart the machine. If any permission prompts appear during this process, click Allow and restart again to ensure all settings are applied correctly.
Step 5
Re-Downloading Product Details to Machine
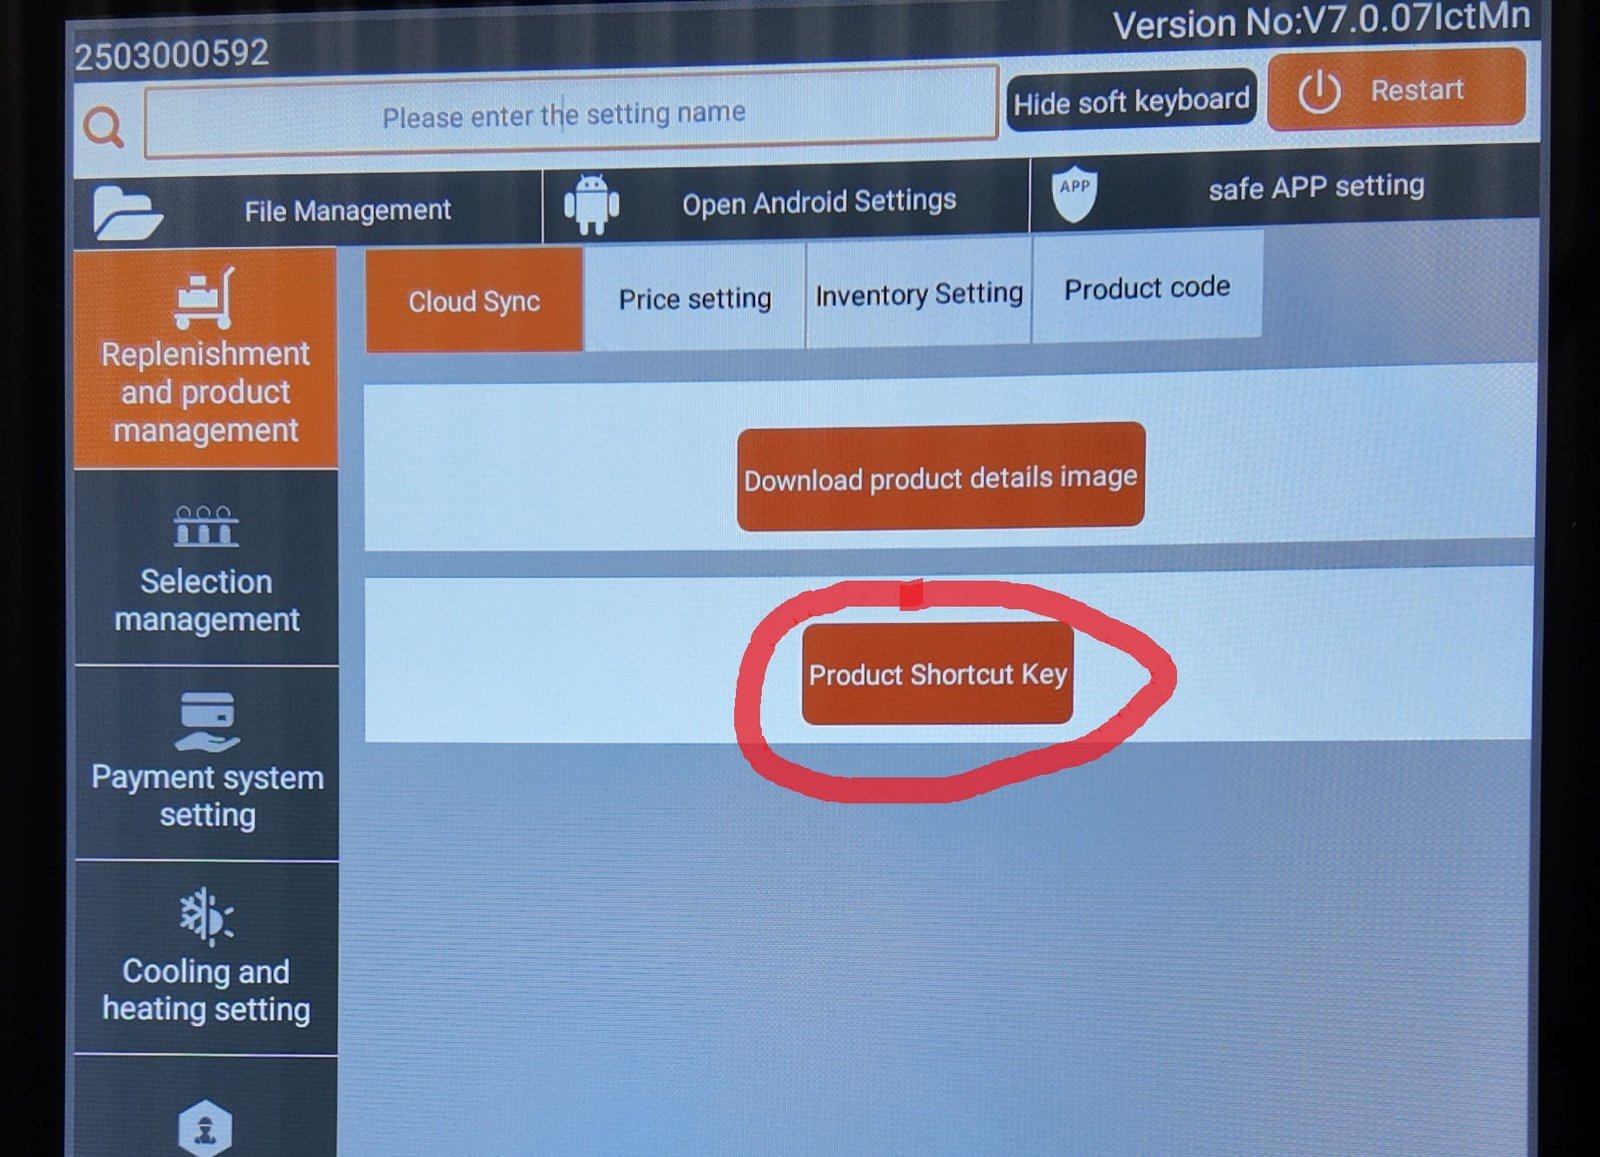
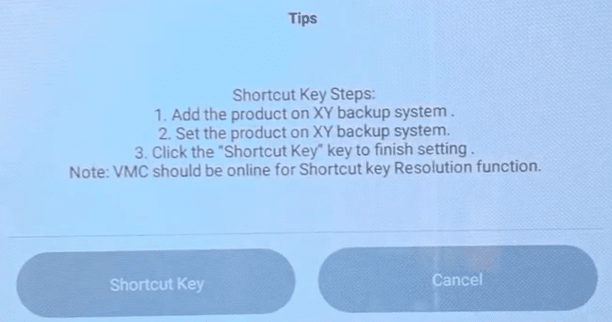
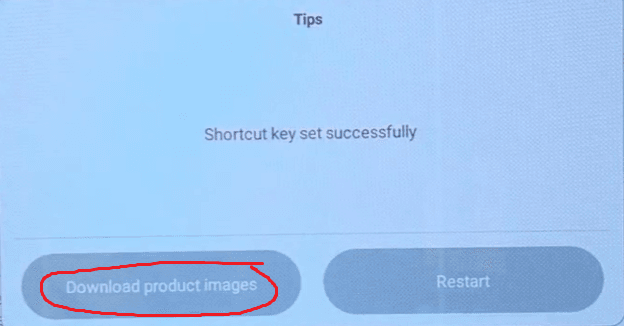

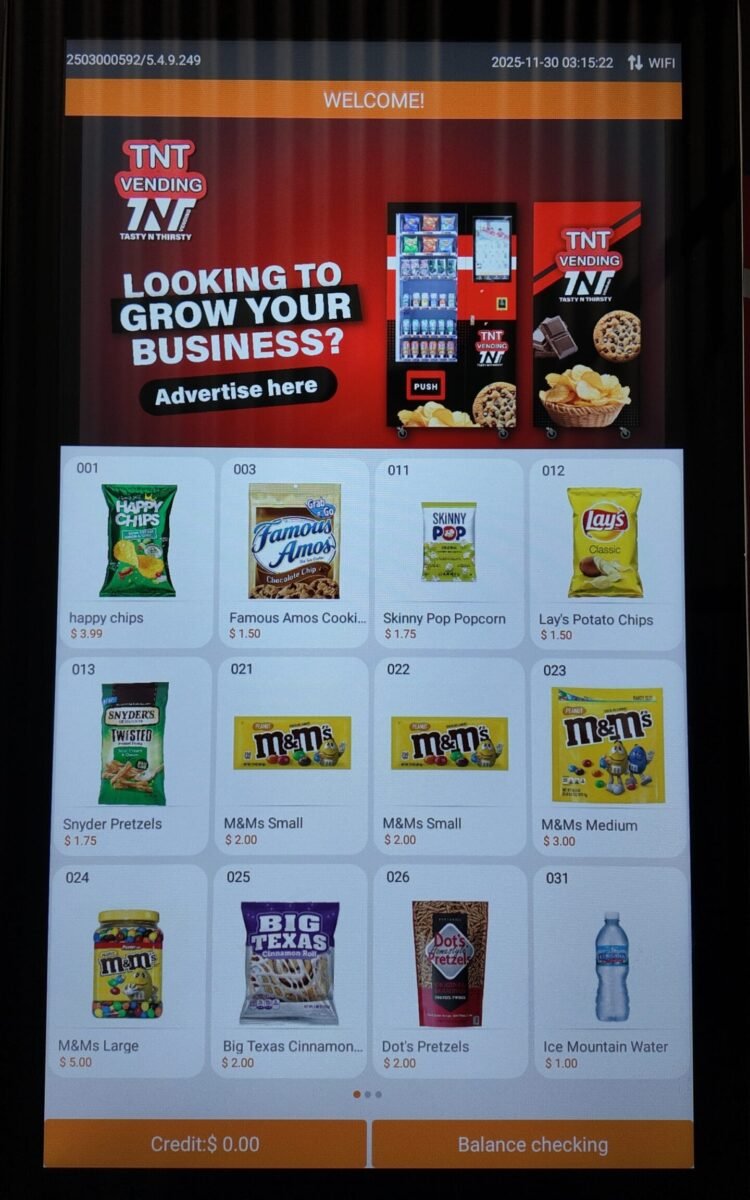
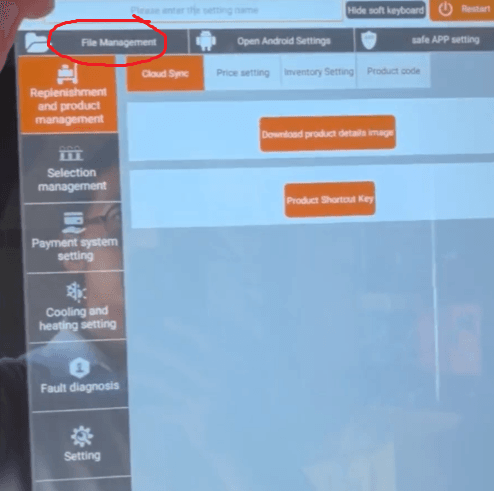
Once the machine restarts, click the red button again to get to the settings scren. On the main settings screen, click the Product Shortcut Key and follow the on-screen prompts to re-download the product information and images.
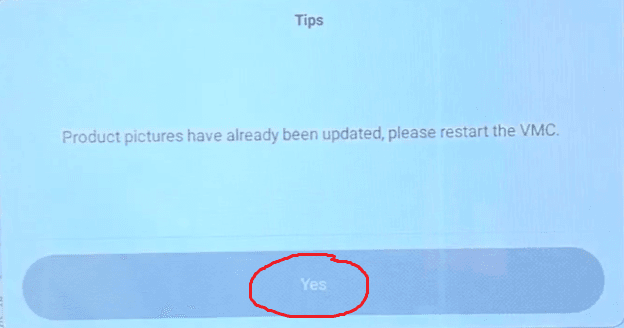
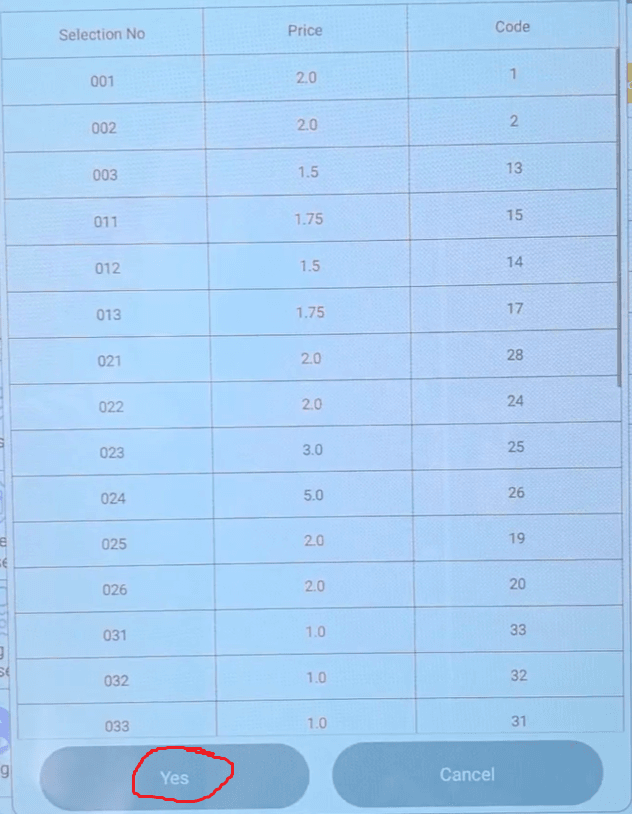
After the product information is downloaded, follow the on-screen prompt to restart the machine. Once restarted, your products should appear automatically on the sales screen.